It shouldn’t come as a surprise that I am a fan of rice krispie treats. They’re so easy to make, cut into shapes, turn into all kinds of colors, and kids typically love them. This particular rice krispie treat first came up on my Facebook feed late one night in September, and I knew I had to make them!
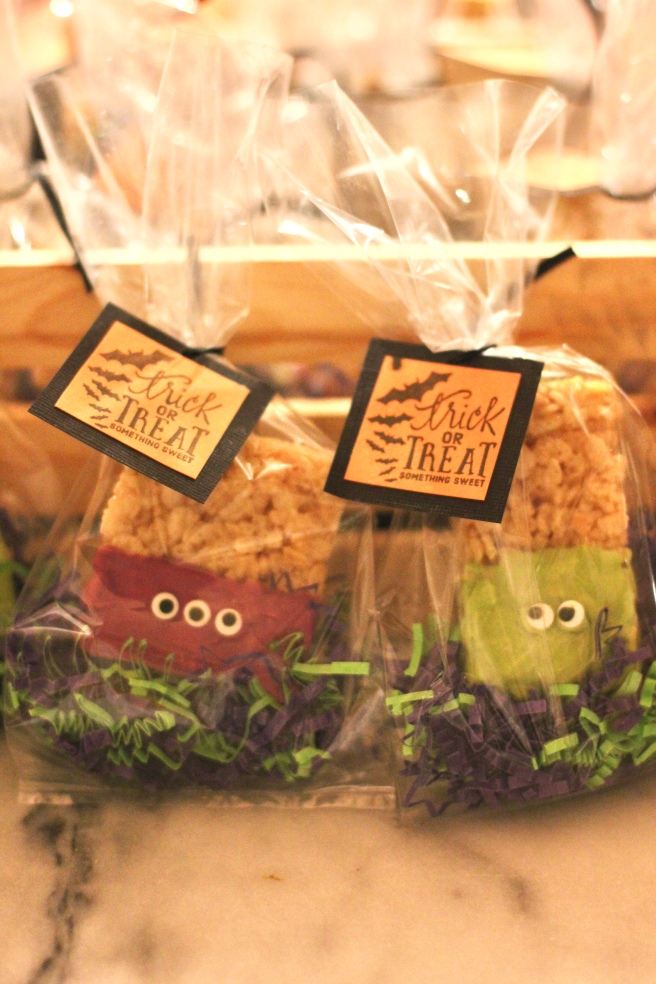
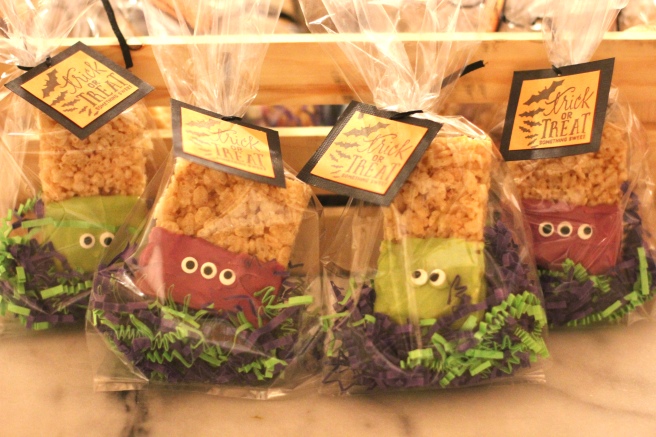
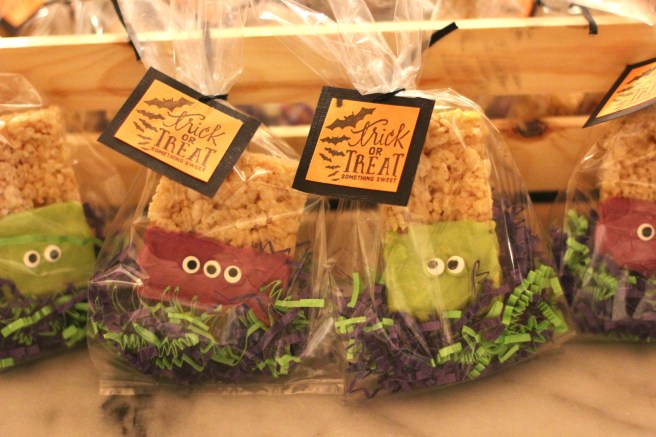
Little did I know, that in total, I would make close to 100 of these little happy monsters! I’ve come to call them “Happy Little Monsters” because I find they put a smile on most people’s face 😉 We gave them to friends, family, and neighbors. I made most of them for Jack’s pre school Halloween Party, and wrapped them in these cellophane bags with crinkle paper and a trick or treat tag. They were pretty cute, and every now and then you could follow a trail of crinkle paper to the child who was eating his or her treat on the go.
It’s been quite fun making these festive treat throughout the month. Spreading the colored spread, placing the eyeballs, even making the stamped “trick or treat” tags keeps me entertained as I sit next to Chris, while he watches whatever sports game is on tv that particular night after the kids have gone to bed.

INGREDIENTS:
- 3 tablespoons unsalted butter
- 2 tablespoons milk
- 2 teaspoons vanilla extract
- 1 10oz bag of marshmallows
- 6 cups of Rice Krispies
- ChocoMaker Candy Wafers, choice of color
- Candy eyes
INSTRUCTIONS
Rice Krispie Treats:
- In a pan, melt the butter over medium-low heat. Add milk, vanilla extract and marshmallows. Allow the marshmallows to melt over low heat. Don’t let the marshmallows burn, keep your heat on low and stir often.
- While they melt, prepare a 9×13 inch baking dish with parchment paper along the bottom.
- Once the marshmallows are melted, remove from heat and mix in the rice krispies.
- Pour the marshmallow/rice krispie mix into the prepared baking dish and spread out in an even layer.
- Put them into the refrigerator for 30 minutes to cool and set.
Assembling Monsters:
- Cut the rice krispies into desired size. I roughly cut mine into 2×4 or 2×3 inch pieces.
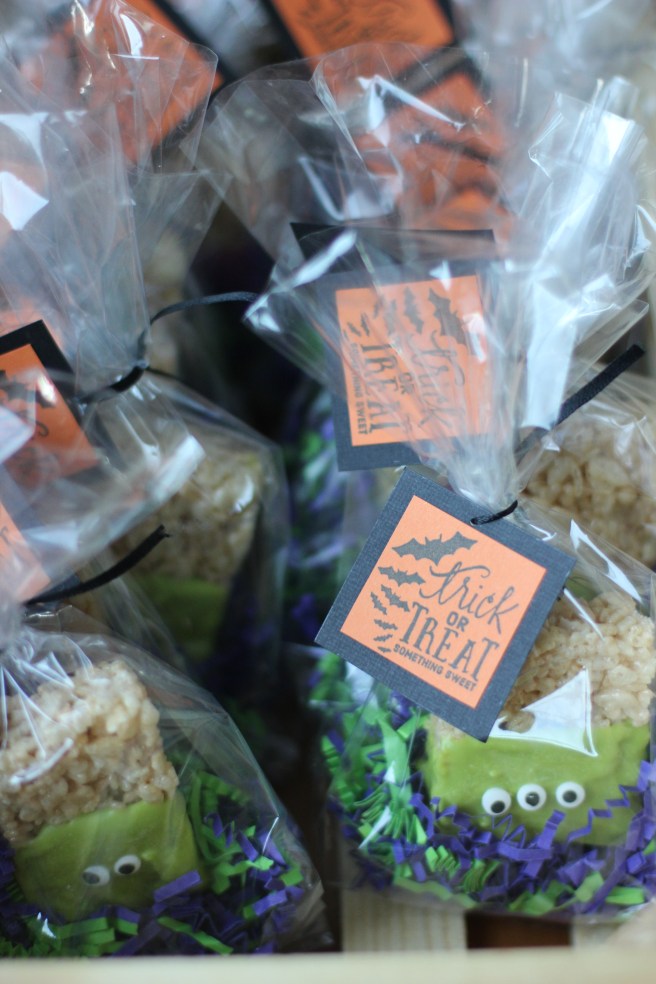
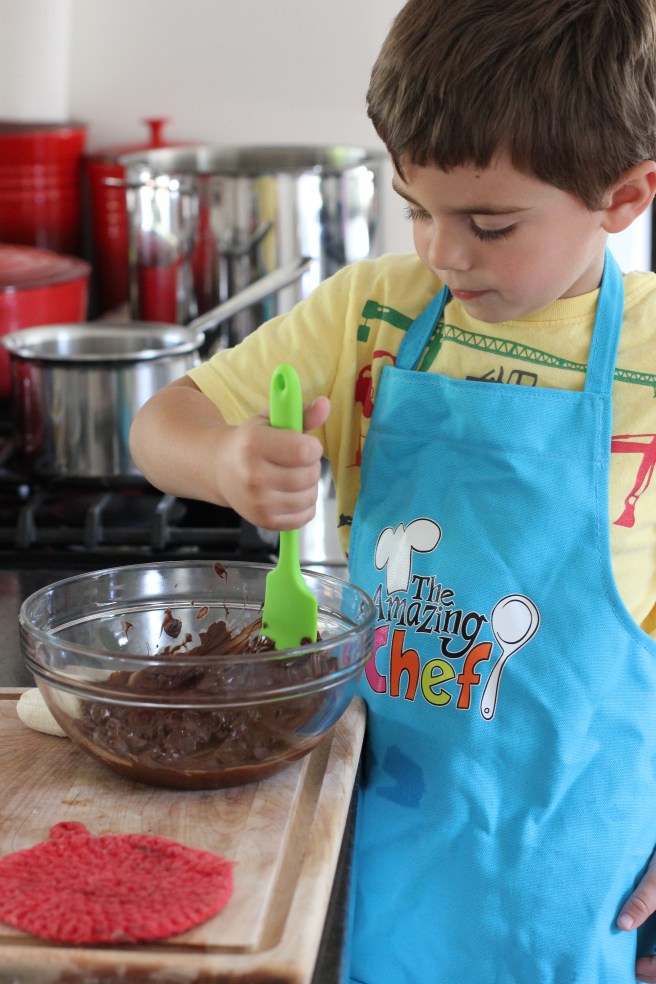
- Melt the ChocoMaker wafers in the microwave, use a silicon spatula to stir. One treat at a time, use the spatula to help spread the colored chocomaker spread onto half of the rice krispie.
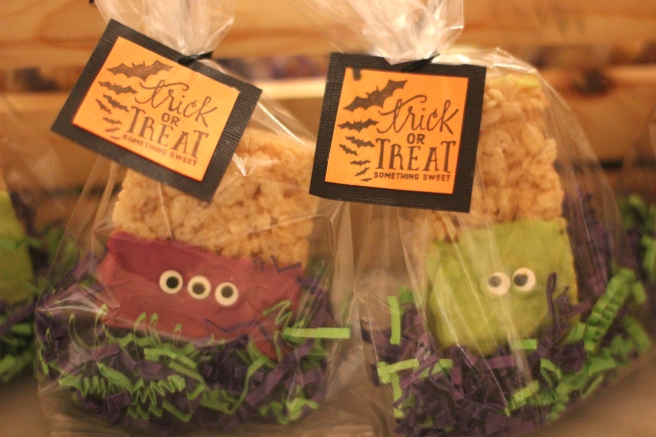
- Place on parchment paper and add candy eyes.
- Repeat until done!
- Put treats in cellophane bags, with crinkle cut paper. Tie with trick or treat tags!
NOTES:
- I made my trick or treat tags using a stamp, paper and glue. So easy, and like I said, keeps me preoccupied next to Chris while he watches sports after the kids have gone to bed.
cheers!

 Lately, I find myself so over “date night”. Don’t get me wrong, I love an evening out with my husband and friends, but “date night” has so many connotations attached to it, both positive and negative. There’s the pressure to make reservations, get dressed, have dinner planned for the kids and the sitter, arrange a date and time that works for friends (if it’s a group)… And then, you risk the fact that your kids might still be awake when you get home later that evening!! At least, if your kids are anything like mine. On the other hand, it feels so good to get dressed up, put on some heels, try a new restaurant, and catch up with your husband and friends over a bottle of wine and good food.