Chickens, Bunnies, and Dogs, Oh My!

Guess what? I have actually missed this little micro-corner of the internet for this little blog of mine. Life got crazy for a while: home-building (quite literally), infants, 2020, toddlers, unfinished home projects, growing kids, life demands… the list could go on forever. But alas, I’m here again. I’m happy to see you. I’m happy to have some space, growth, freedom, bits of joy and lots of light and laughter as I navigate this beautiful life I get to create.

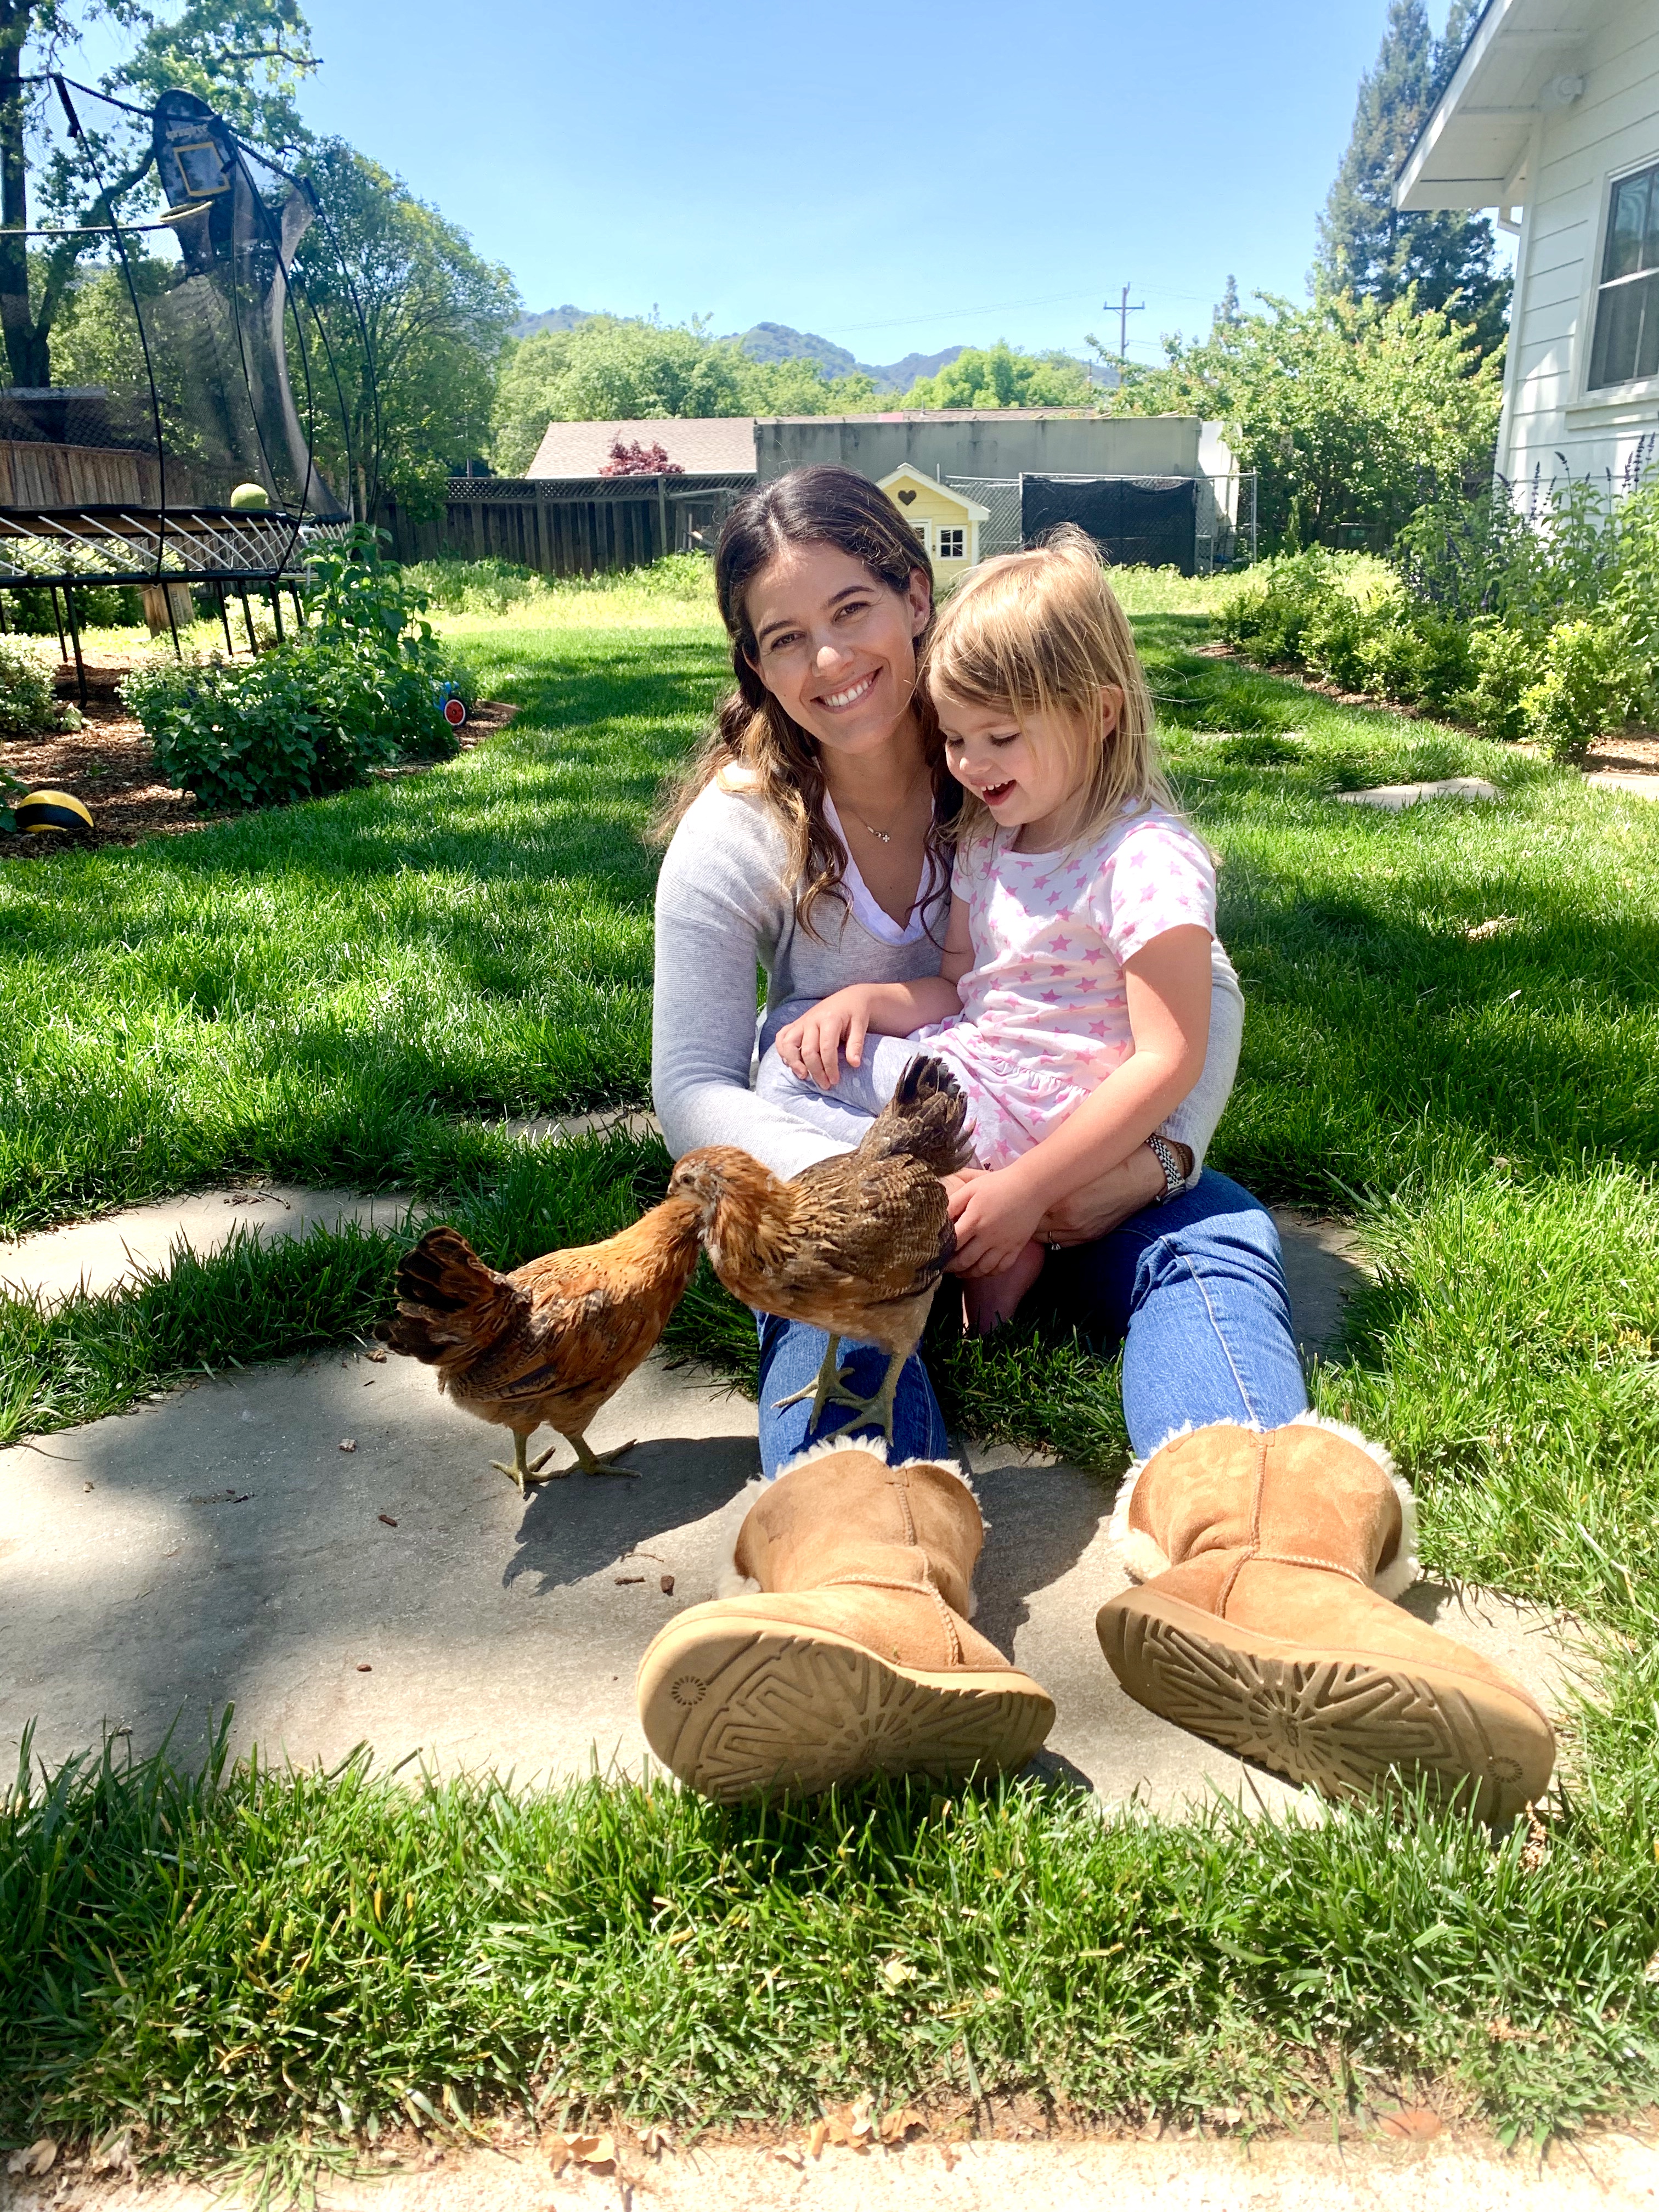
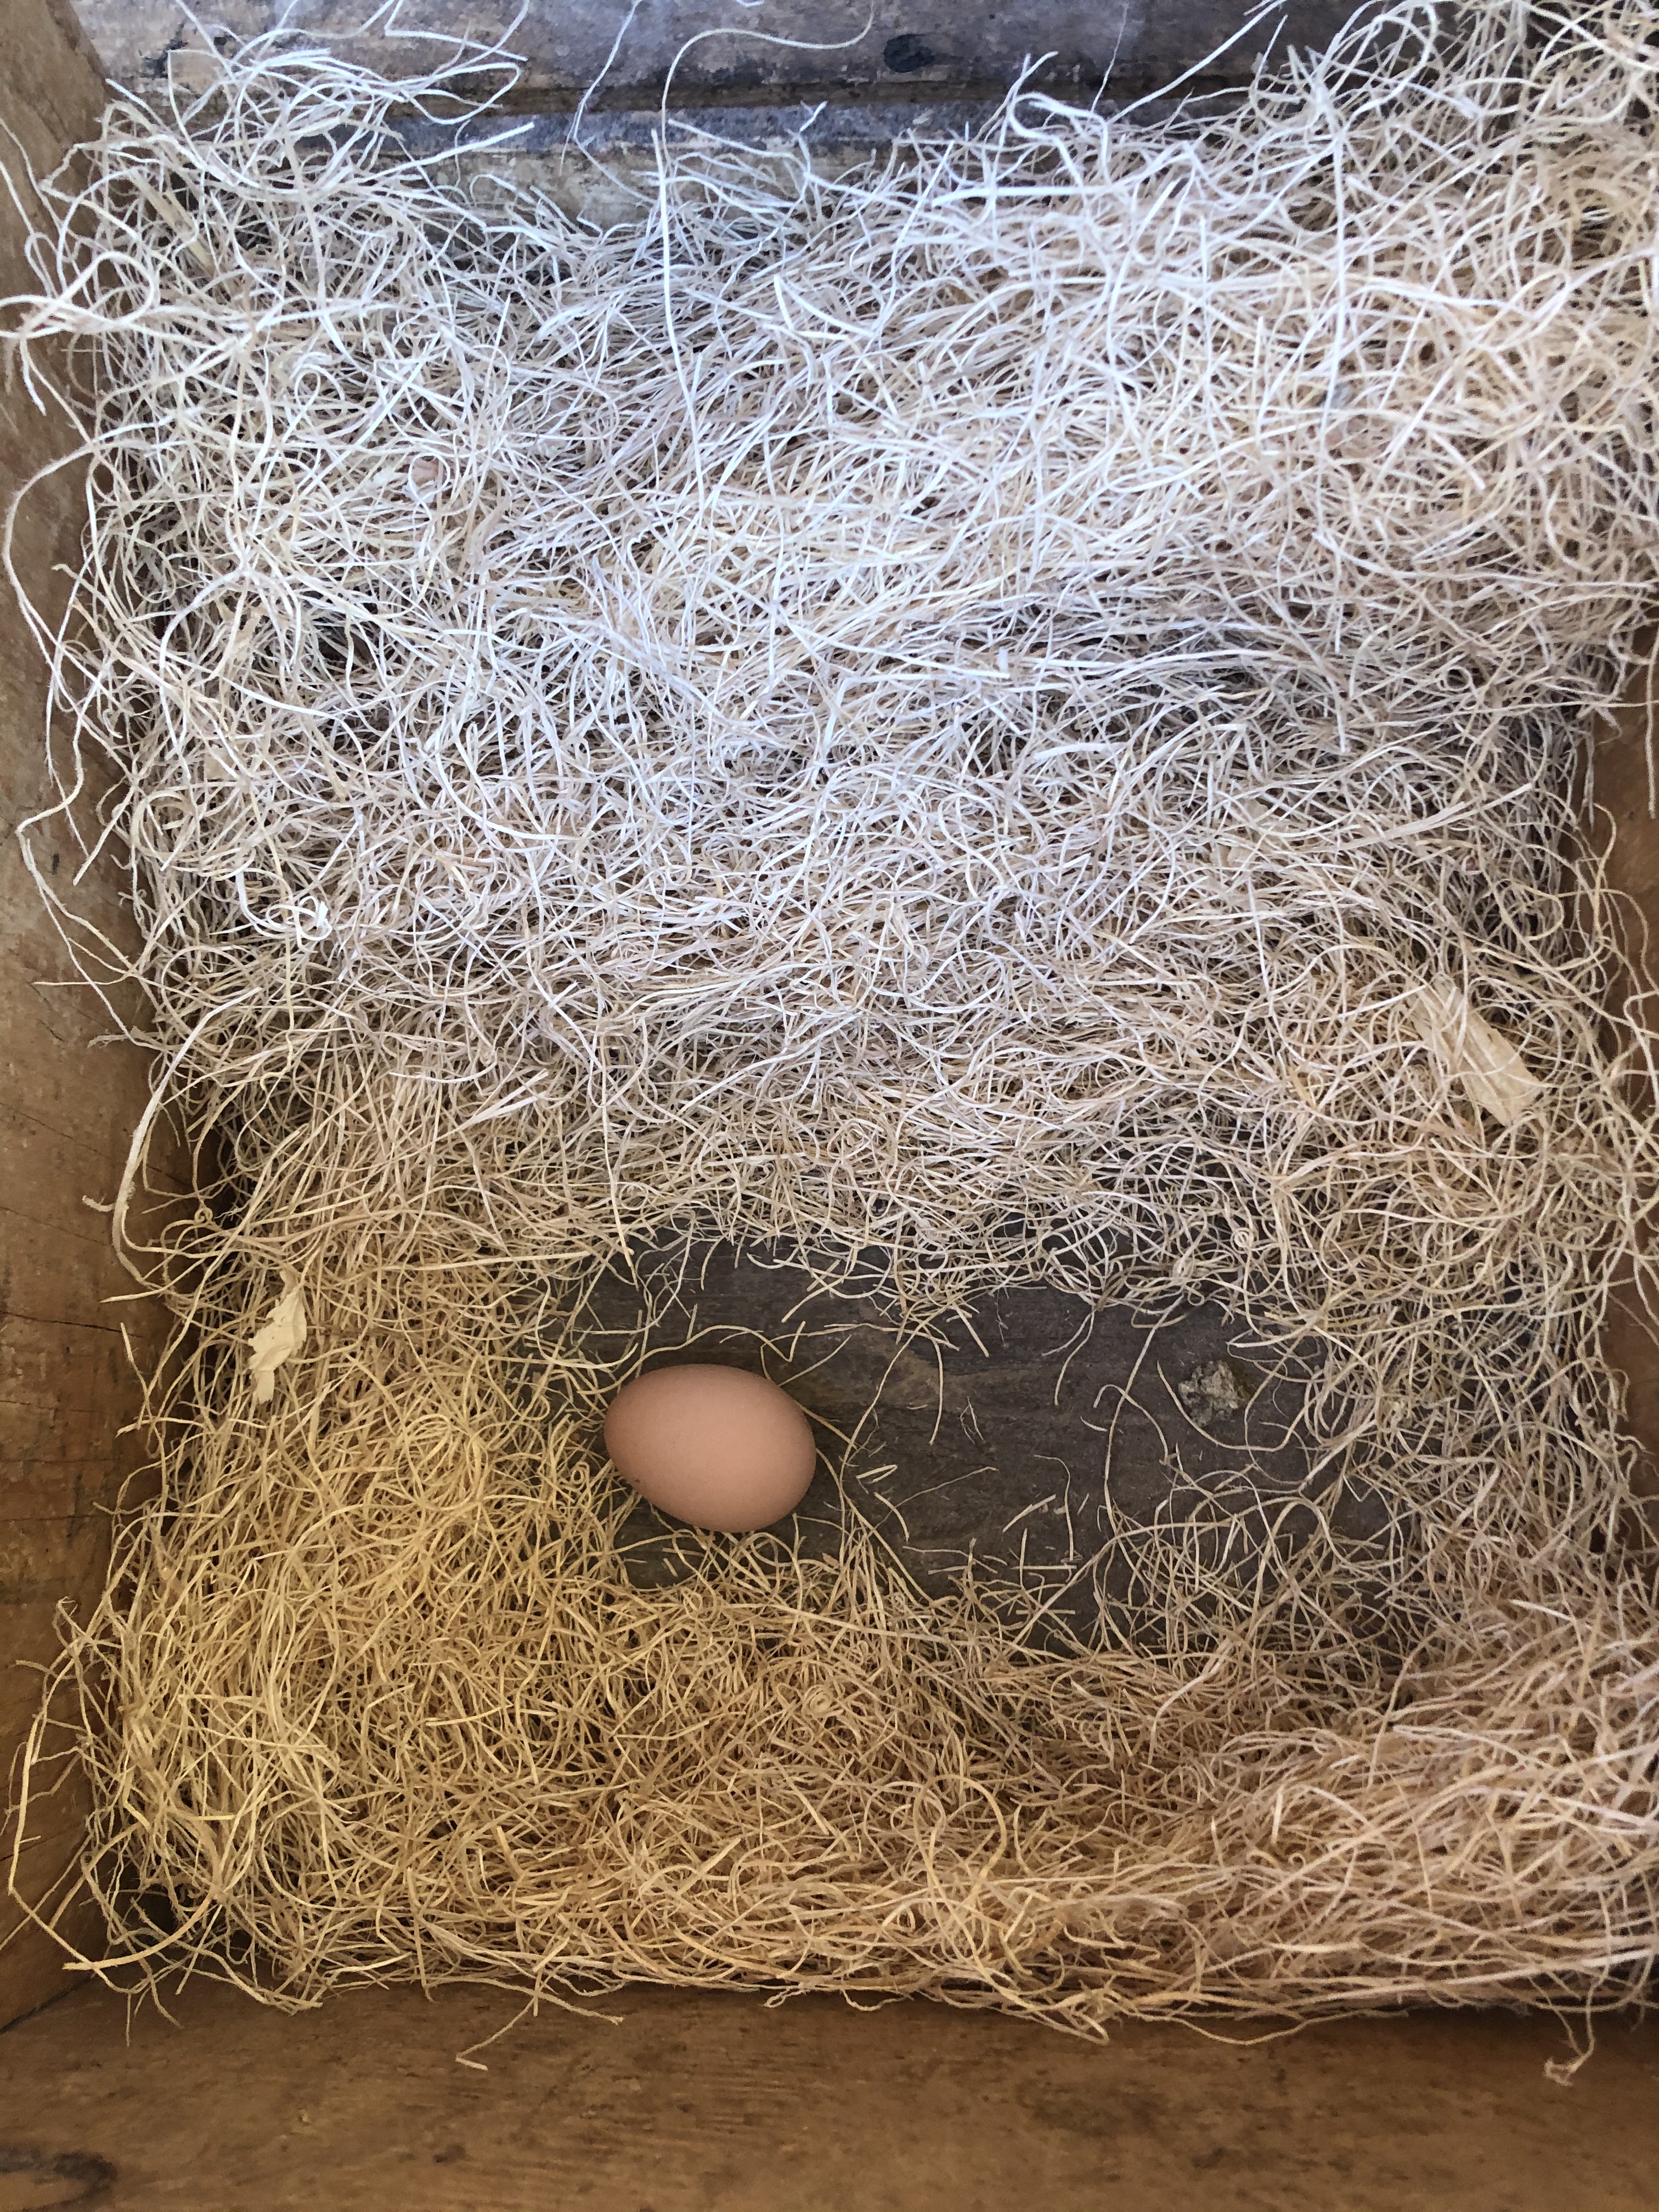
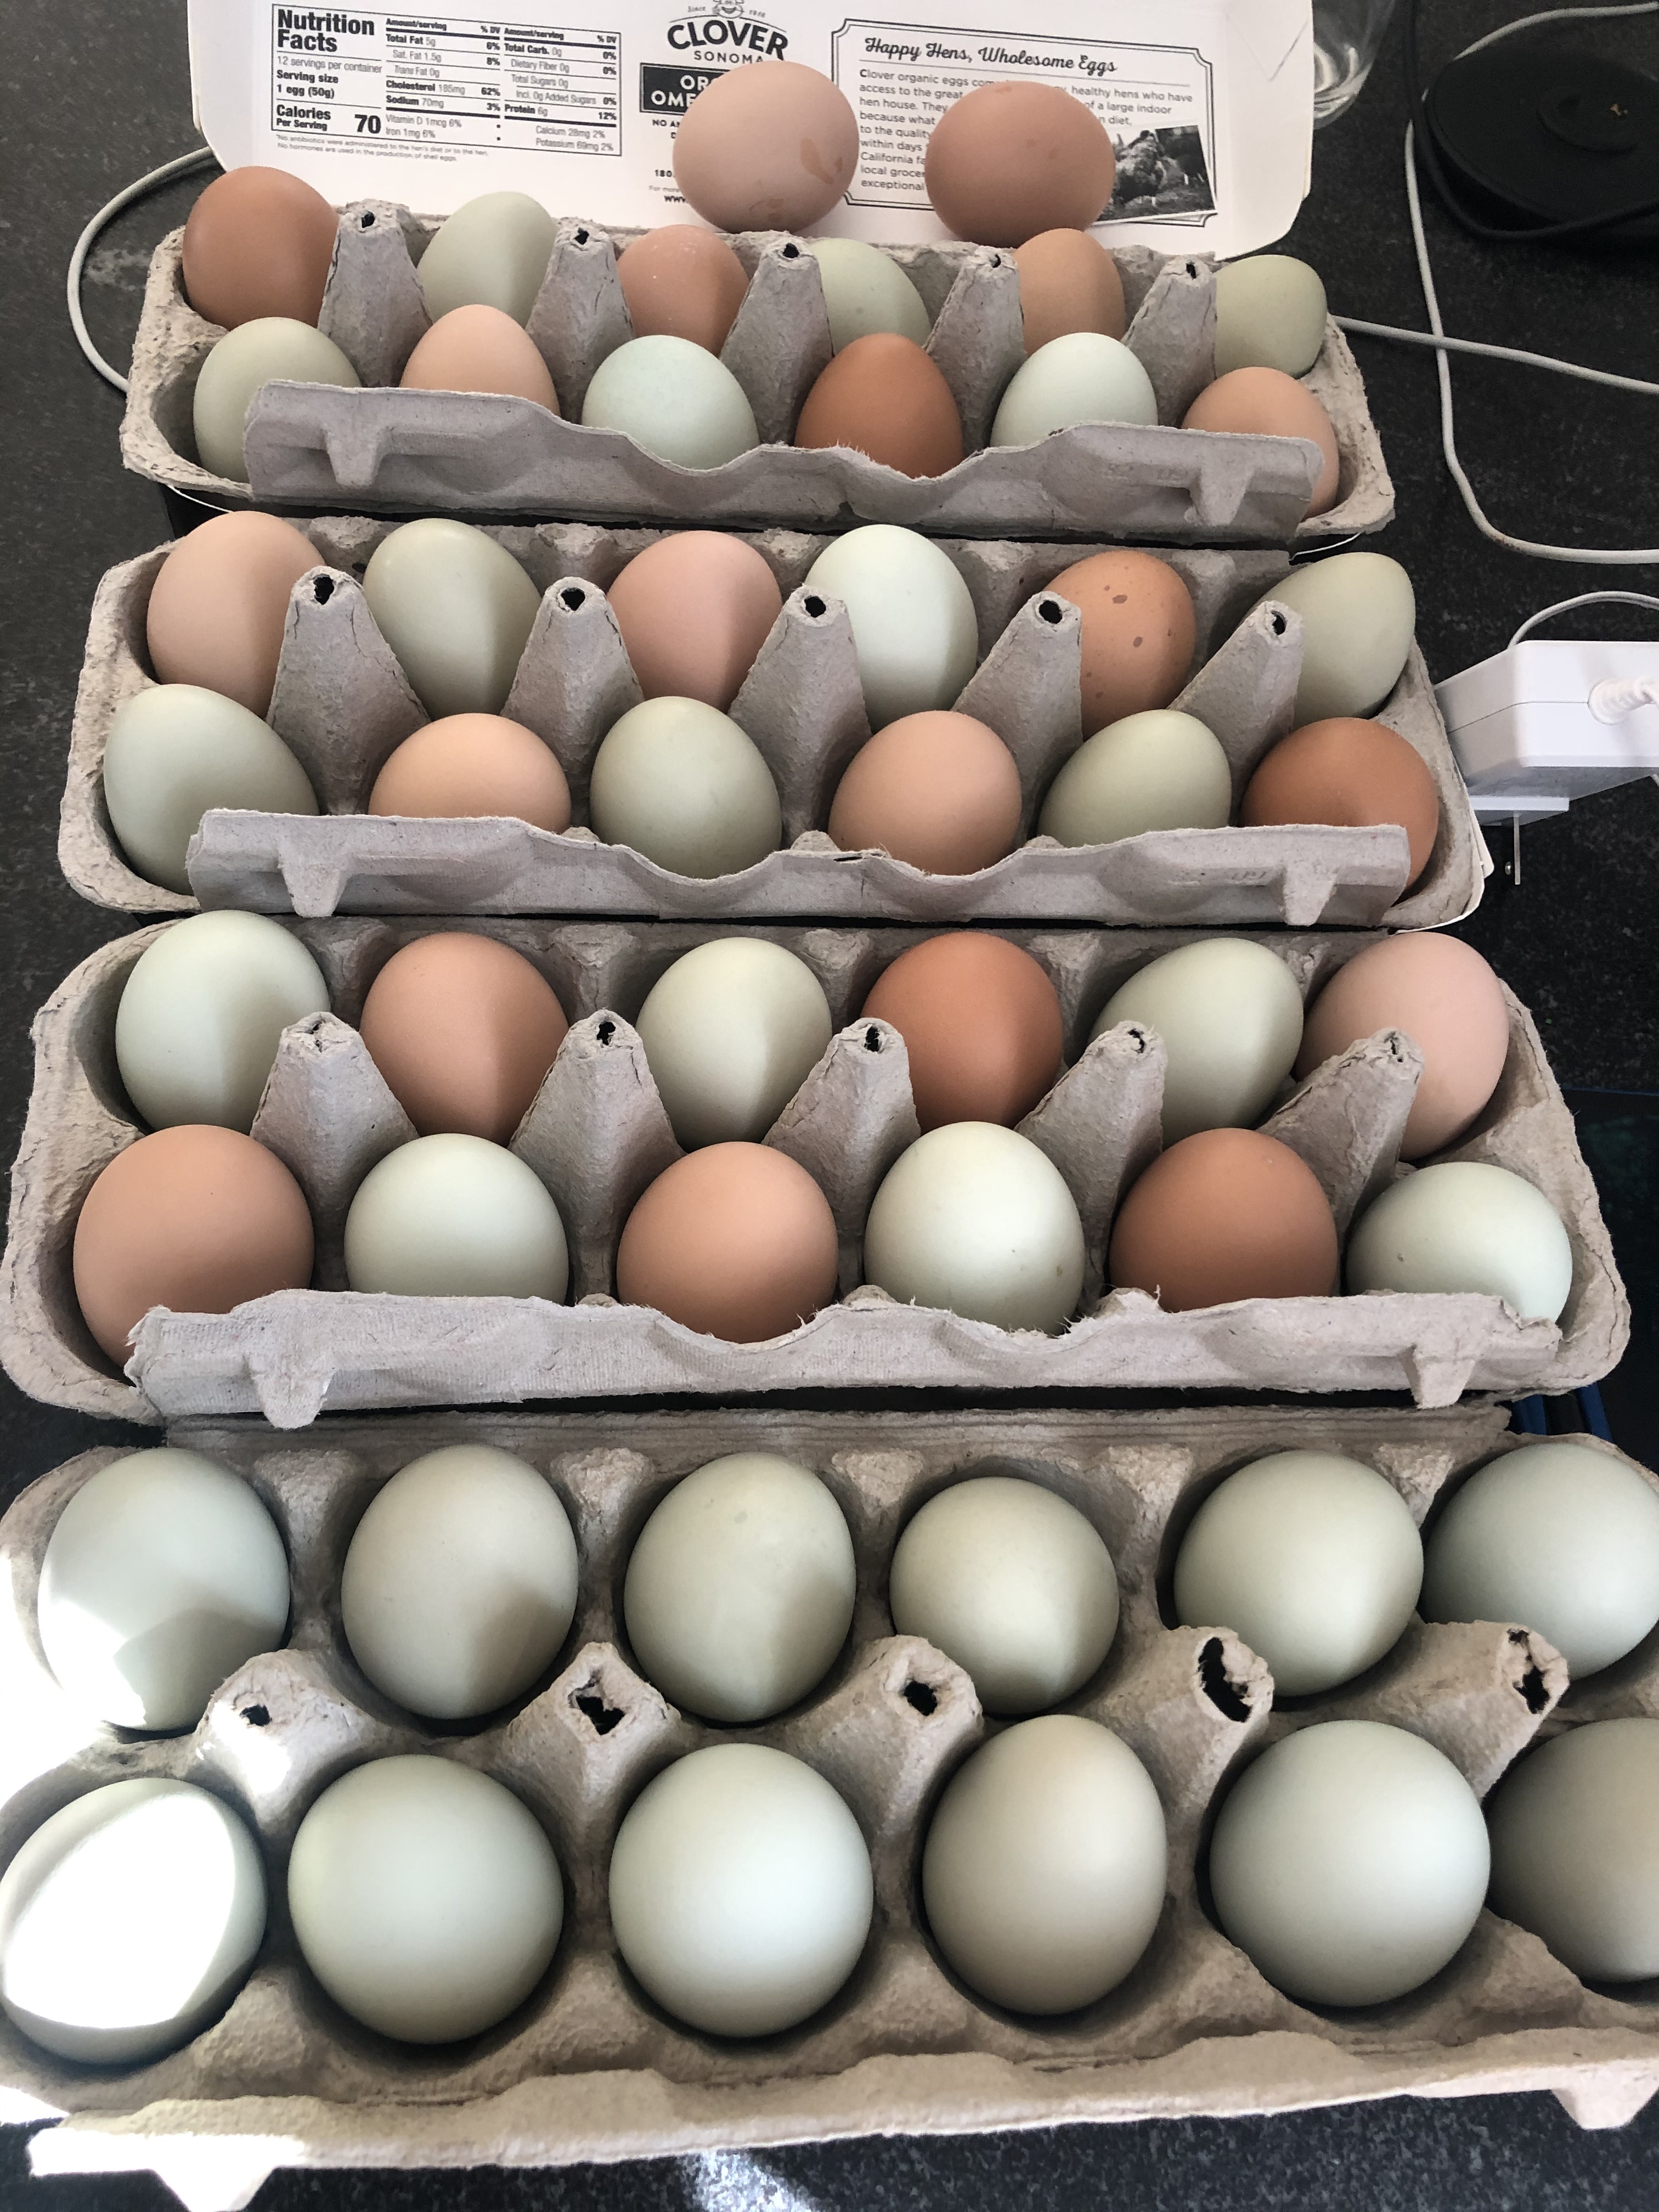
Lots of dreams and ideas for the year(s) ahead. Excited to see a lot of plans come to life! Last year, on Saturday, March 14th, the weekend the Stay at Home Order for Covid went into place we got 7 chickens! Actually, we got 8 but one turned out to be a rooster! He found a new home at a rooster sanctuary in the hills near where we live. I like to think he’s doing much better there than bossing around our sweet “Ladies” as I call them. They’ve been producing eggs since August which has been amazing because we haven’t bought eggs since! Through September and October we had lots of extra eggs to share with family and friends, which was nice.

Anyways, we need to finish the chicken area. It’s a messy, stinky, somewhat ugly side yard with a LOT of potential. But first, here’s a little recap:

Picking up our chicks at the feed store!
Nala getting acquainted with her new friends!
No one loved the baby chicks more than this girl!
Baby chicks are so fun!
Spent a lot of time doing this thanks to baby chicks and covid
Our side yard “before” chicks but after the home build. I’ll dust off a before the home build picture, it was quite the sight!
We have a coop! Now to build the run…
Chris built a run off the coop and secured it all the way around against predators! The painting got started but it still hasn’t been finished, so I’m excited to do that this spring.
She’s a farm girl at heart 🙂
Our first egg! You can’t really tell here but it was a little tiny egg!
Looooots of eggs!
In August we adopted Bun Bun from friends who moved to Tennessee! She’s 10 and you’d never think it!
Gathering those eggs never gets old!

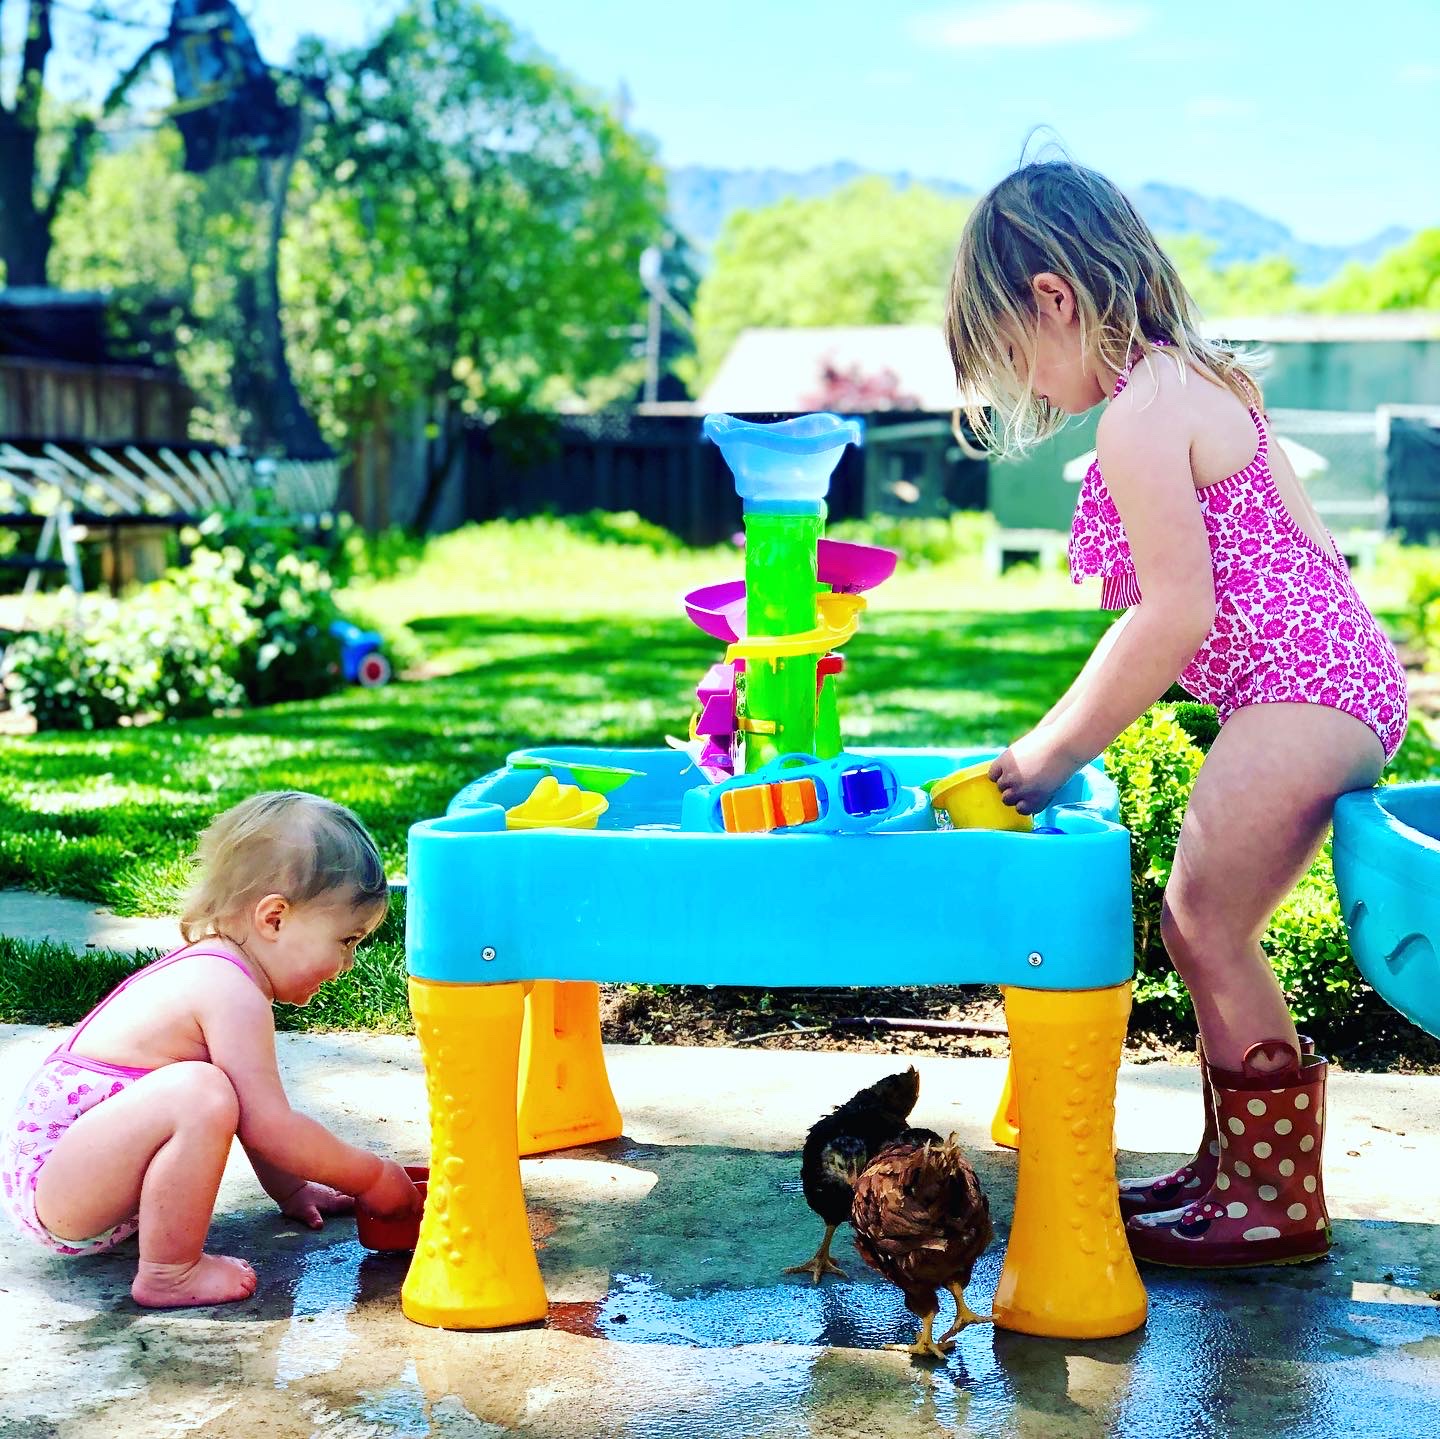
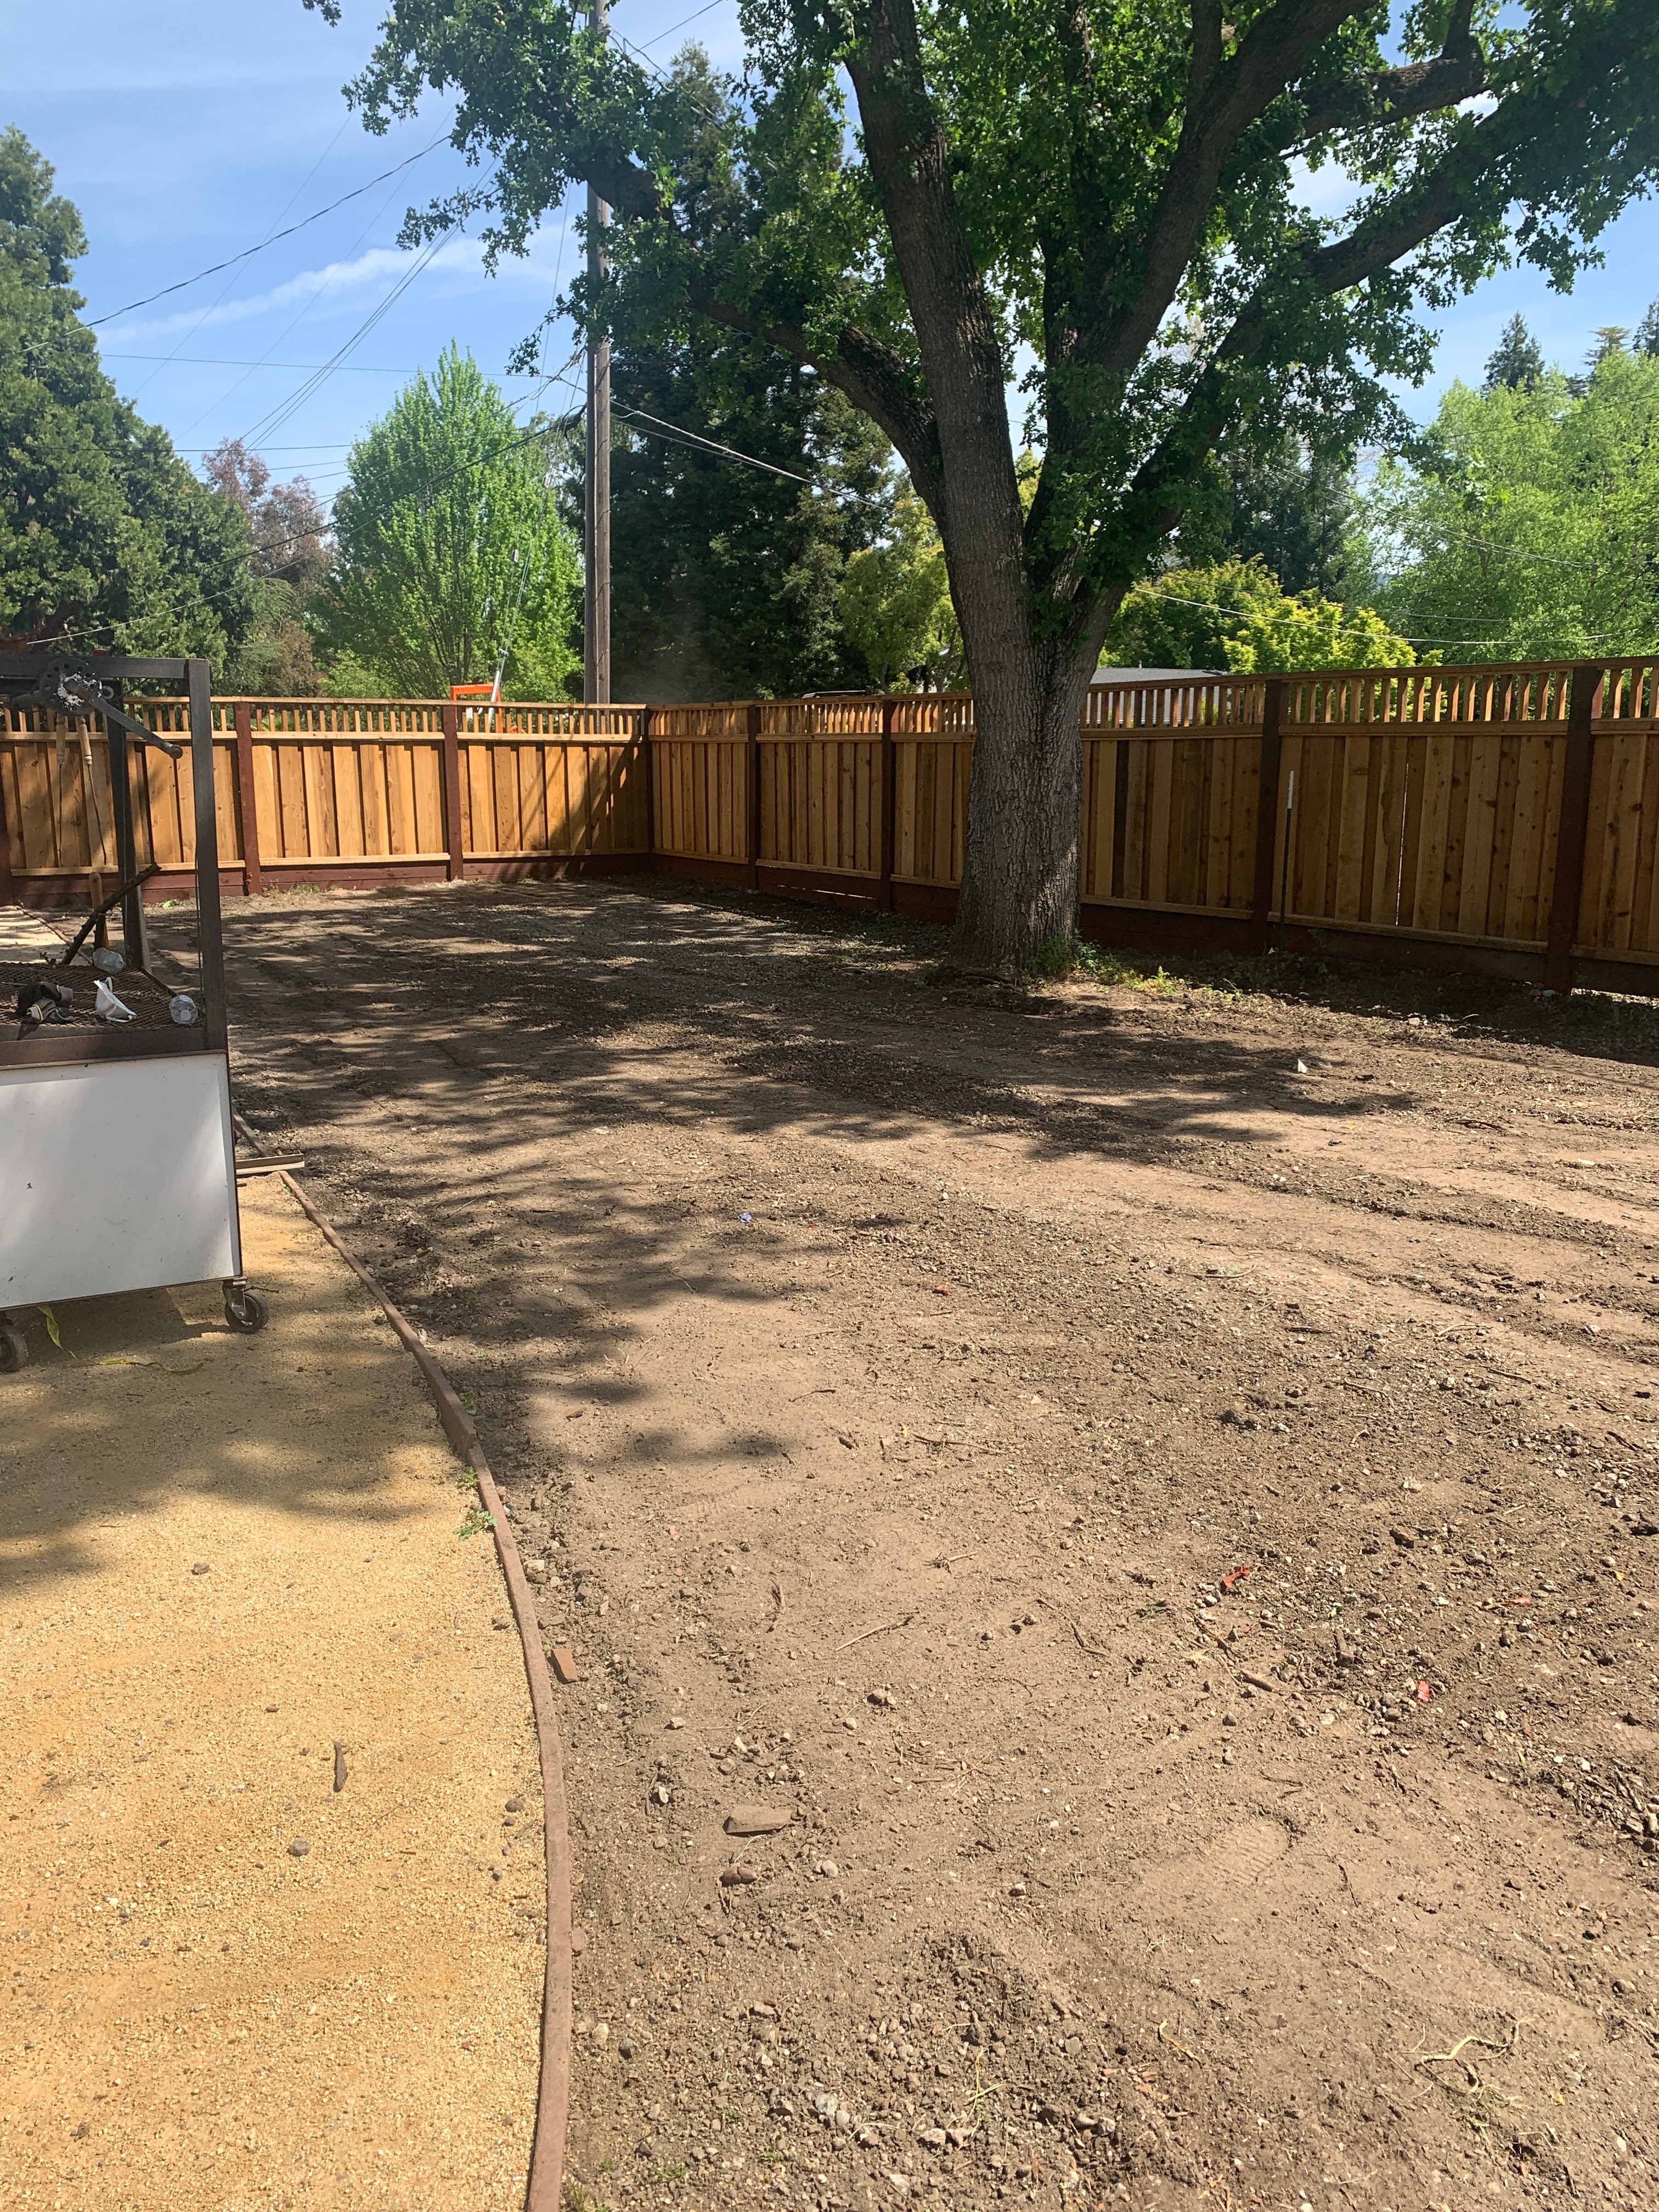
I’ll post next time about what this area looks like now and how I plan to clean it up!! In that last picture you can see all the leaves around my feet… those need to be blown and raked up for starters…

Cheers!

One Bowl Blueberry Muffins

IMG_6172

This is a recipe that I am going to commit to memory. It’s that good and that simple! One of my kids has been inhaling blueberries these last couple of weeks, to the point where I just can’t buy enough of them.  However, this week either she slowed down eating them or I bought too many because I found myself with a couple extra packs and somewhat unsure what to do with them. For a while I contemplated blueberry scones — my very very favorite blueberry scones, but that requires dusting the countertop with flour, using super cold butter, etc… etc… and to be frank: too big of a mess; too much of a hassle.

I’ve been pouring over the recipes in Deb Perelman’s book Smitten Kitchen Every Day since I got it around Christmas time and when I turned to these muffins yesterday I knew I had to make them ASAP! No fussy ingredients, one bowl, add the ingredients, mix it up, bake, enjoy… and easy clean up! To be honest, no one likes doing dishes. Especially on a weekend morning. So do yourself a favor and whip these up — you’ll be so happy you did!

IMG_6176

INGREDIENTS:

5 tablespoons unsalted butter

1/2 c. granulated sugar

finely grated zest from half a lemon (I zested a whole, you should too)

3/4 c. sour cream

1 large egg, room temperature

1 1/2 tsps baking powder

1/4 tsp baking soda

1/4 tsp salt

1 1/2 c. all-purpose flour

1 1/2 c. fresh blueberries

3 tablespoons turbinado sugar, for dusting

INSTRUCTIONS:

  1. Heat oven to 375. Line a muffin tin with 9 liners, or do as I do, and butter the muffin tin and then dust with flour, the good old fashion way.
  2. In a large, microwave safe bowl, melt the butter – about a minute and a half in the microwave.
  3. Add the sugar, lemon zest, sour cream, egg and whisk until smooth.
  4. Add the baking powder, baking soda, and salt.  Whisk until fully incorporated.
  5. Add the flour and blueberries.  With a wooden spoon or rubber spatula, gently fold in the flour and blueberries to the batter.
  6. The batter will be thick and smell delicious.  Go ahead, taste a little 😉 Divide the dough into the 9 prepared muffin cups and sprinkle a generous amount of turbinado sugar on top of each muffin.
  7. Bake for 25 minutes, then let cook for 10 minutes and enjoy!!

IMG_6181

IMG_6187

cheers!

Raspberry Chocolate Souffles


fullsizeoutput_2599

These delicious little souffles deflated faster than the camera could go “click!” by the time they were ready for their close up.  It was rather sad, but such is life.  Gotta take hold of the reigns before they fly past: life stops for no one and we always have to keep pressing forward. So press forward I did, and here we are with a delicious and surprisingly easy dessert!

Saturday night Chris went to the SMC/Gonzaga game at our alma mater (and also where we got married!) so I made these for the kids and I to enjoy as a consolation.  To be honest, we might have devoured these before dinner.  Oops! On another note, I made a couple of these without raspberries, and I must say they are not nearly as good without the raspberries! The great thing about souffle is that you can prepare the batter and pour  into the ramekins the day before, because it will keep in the fridge overnight.  This saves a lot of time, and breaks up the work quite nicely.

Don’t forget: if you’re going to put a cute, little powdered sugar heart or other design on top make sure your stencil and powdered sugar are ready to go as soon as they come out of the oven – the longer it takes for you to serve these babies the more likely they’ll deflate before they make it to the table!  A lesson learned for next time.  😉

IMG_6076

IMG_6079

fullsizeoutput_2597

INGREDIENTS:

*recipe from William Sonoma’s book Home Baked Comfort

  • 7 tbsp granulated sugar, plus more for dusting the ramekins
  • 6 oz package of raspberries
  • 3 tbsp unsalted butter
  • 6 oz bittersweet chocolate, chopped.  I highly suggest using a high quality chocolate! It makes all the difference for this decadent, chocolate based dessert.
  • 1/2 tsp vanilla extract
  • 5 large eggs, separated plus 2 egg whites
  • pinch of salt – about a 1/4 tsp
  • 1/4 tsp cream of tartar
  • confectioners’ sugar for dustin

INSTRUCTIONS:

  1. Place rack in lower third of the oven and preheat to 375F.
  2. The recipe calls for six 1-cup ramekins, but I found the recipe made 8.  Hence, butter 8 ramekins and lightly dust each with granulated sugar.
  3. In a small bowl toss the raspberries with a tablespoon of the sugar and divide among the ramekins.
  4. In a small saucepan, melt the butter and chocolate over low heat, stirring as you go.  Don’t let the chocolate burn. Remove from heat and stir in the vanilla.
  5. In your mixer, with the whip attachment, beat the egg yolks and 3 tablespoons of the sugar on medium speed until it’s thickened. Fold the chocolate mixture in.
  6. In a large bowl with a hand mixer, beat the egg whites, salt, and cream of tartar on medium-high speed.  When the egg whites are getting fluffy, add the remaining 3 tablespoons of granulated sugar and beat until you have thick, stiff egg white peaks.
  7. Fold the beaten egg whites into the chocolate mixture.  Divide the mixture evenly among the ramekins.
  8. Place on a rimmed baking sheet and bake until they are set and puffed, about 18, but not more than 20 minutes.
  9. Dust with powdered sugar, and enjoy before they fall!

fullsizeoutput_2595fullsizeoutput_259afullsizeoutput_2596

cheers! and Happy Valentine’s Day ♥

SaveSave

Happy Little Monster Treats

fullsizeoutput_1b7b

It shouldn’t come as a surprise that I am a fan of rice krispie treats.  They’re so easy to make, cut into shapes, turn into all kinds of colors, and kids typically love them.  This particular rice krispie treat first came up on my Facebook feed late one night in September, and I knew I had to make them!

Little did I know, that in total, I would make close to 100 of these little happy monsters!  I’ve come to call them “Happy Little Monsters” because I find they put a smile on most people’s face 😉 We gave them to friends, family, and neighbors.  I made most of them for Jack’s pre school Halloween Party, and wrapped them in these cellophane bags with crinkle paper and a trick or treat tag.  They were pretty cute, and every now and then you could follow a trail of crinkle paper to the child who was eating his or her treat on the go.

It’s been quite fun making these festive treat throughout the month.  Spreading the colored spread, placing the eyeballs, even making the stamped “trick or treat” tags keeps me entertained as I sit next to Chris, while he watches whatever sports game is on tv that particular night after the kids have gone to bed.

fullsizeoutput_1b8a

IMG_4716

INGREDIENTS:

  • 3 tablespoons unsalted butter
  • 2 tablespoons milk
  • 2 teaspoons vanilla extract
  • 1 10oz bag of marshmallows
  • 6 cups of Rice Krispies
  • ChocoMaker Candy Wafers, choice of color
  • Candy eyes

INSTRUCTIONS

Rice Krispie Treats:

  1. In a pan, melt the butter over medium-low heat.  Add milk, vanilla extract and marshmallows. Allow the marshmallows to melt over low heat.  Don’t let the marshmallows burn, keep your heat on low and stir often.
  2. While they melt, prepare a 9×13 inch baking dish with parchment paper along the bottom.
  3. Once the marshmallows are melted, remove from heat and mix in the rice krispies.
  4. Pour the marshmallow/rice krispie mix into the prepared baking dish and spread out in an even layer.
  5. Put them into the refrigerator for 30 minutes to cool and set.

Assembling Monsters:

  1. Cut the rice krispies into desired size.  I roughly cut mine into 2×4 or 2×3 inch pieces.
  2. Melt the ChocoMaker wafers in the microwave, use a silicon spatula to stir.  One treat at a time, use the spatula to help spread the colored chocomaker spread onto half of the rice krispie.
  3. Place on parchment paper and add candy eyes.
  4. Repeat until done!
  5. Put treats in cellophane bags, with crinkle cut paper.  Tie with trick or treat tags!

NOTES:

  • I made my trick or treat tags using a stamp, paper and glue.  So easy, and like I said, keeps me preoccupied next to Chris while he watches sports after the kids have gone to bed.

fullsizeoutput_1b7cfullsizeoutput_1b7eIMG_4764

cheers!