M&M Holiday Cookies

IMG_5387

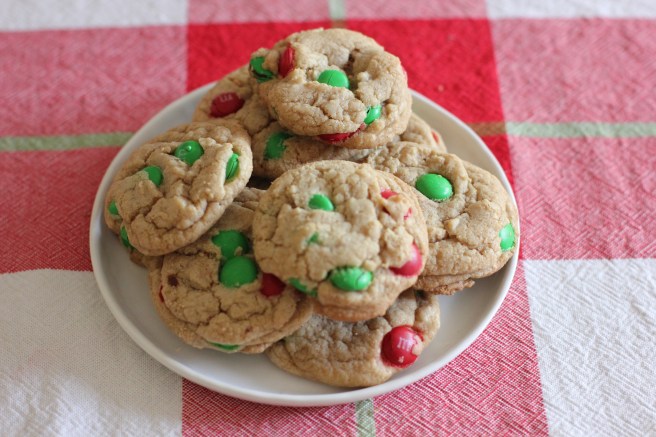
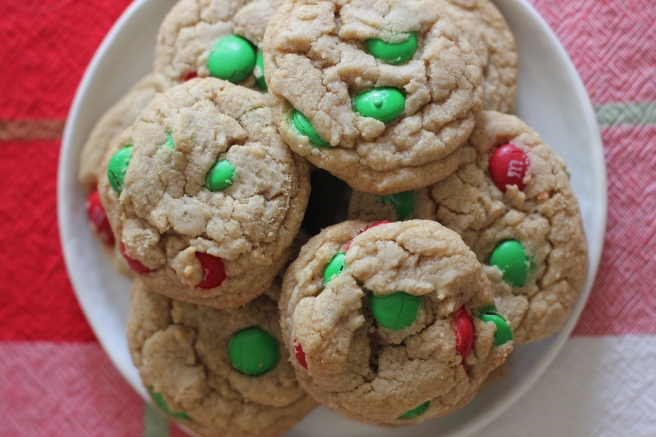
I used to make these all the time, I don’t know why it’s been a good year or so since I last made them.  It’s been a pretty busy holiday season: lots of holiday parties, birthday parties, a quick trip to Hawaii, upcoming holiday travel preparations, and other general life going-on’s, that I realized I needed an easy, reliable, and festive holiday cookie. Cue: The One and Only M&M Holiday Cookie!

I’ve had this recipe for so many years that I don’t even recall where I got it.  However, it’s a tried and true staple in my book, tested time and time again. I make them during Valentine’s Day with the pink, white, reddish colored M&M’s, on St. Patrick’s Day with green M&M’s, and even with your boring, everyday colored M&M’s when needed.  If you scoop the dough out in 1 tablespoon scoops, as I do, you end up with a solid 36 cookies. In our house, that means there’s plenty for us, and even more left over to share with the sweet neighbors who live in our little court with us. Merry Christmas!

IMG_5386IMG_5389IMG_5390

INGREDIENTS:

  • 2 cups plus 2 tblsps all-purpose flour
  • 1/2 tsp baking soda
  • 12 tblsps salted butter, melted
  • 1 cup brown sugar
  • 1/2 white sugar
  • 1 egg and 1 egg yolk, room temperature
  • 2 tsps vanilla extract
  • 1 cup M&M’s, I used Christmas colors on these

INSTRUCTIONS:

Preheat oven to 375 and place rack on upper third of the oven.

  1. Mix the flour and baking soda in a medium bowl and set aside.
  2. In a large bowl, mix the melted butter and all the sugars until they are thoroughly combined.
  3. Add the egg, egg yolk, and vanilla extract. Stir until mixed together.
  4. Gradually add the flour and mix until a dough forms.  You may want to use your hands to bring it all together, because it tends be a little crumbly.
  5. Fold in the M&M’s.
  6. Scoop about a tablespoon of dough out at a time and roll into balls, place them on a baking tray lined with parchment paper.
  7. Bake for about 10 minutes.  I know to take them out when the edges are just barely beginning to turn brown.
  8. Let cool and enjoy!

IMG_5394Notes:

  • This a cookie that I personally prefer slightly undercooked, and that 10 minutes at 375 in the upper third of the oven does the trick!
  • Also, these cookies are so forgiving! You can melt the butter low and slow in a pan, in the microwave on high, in the microwave on low where you still have chunks of whole butter and it will come out the same, every time.

cheers!

IMG_5398

SaveSave

Happy Little Monster Treats

fullsizeoutput_1b7b

It shouldn’t come as a surprise that I am a fan of rice krispie treats.  They’re so easy to make, cut into shapes, turn into all kinds of colors, and kids typically love them.  This particular rice krispie treat first came up on my Facebook feed late one night in September, and I knew I had to make them!

Little did I know, that in total, I would make close to 100 of these little happy monsters!  I’ve come to call them “Happy Little Monsters” because I find they put a smile on most people’s face 😉 We gave them to friends, family, and neighbors.  I made most of them for Jack’s pre school Halloween Party, and wrapped them in these cellophane bags with crinkle paper and a trick or treat tag.  They were pretty cute, and every now and then you could follow a trail of crinkle paper to the child who was eating his or her treat on the go.

It’s been quite fun making these festive treat throughout the month.  Spreading the colored spread, placing the eyeballs, even making the stamped “trick or treat” tags keeps me entertained as I sit next to Chris, while he watches whatever sports game is on tv that particular night after the kids have gone to bed.

fullsizeoutput_1b8a

IMG_4716

INGREDIENTS:

  • 3 tablespoons unsalted butter
  • 2 tablespoons milk
  • 2 teaspoons vanilla extract
  • 1 10oz bag of marshmallows
  • 6 cups of Rice Krispies
  • ChocoMaker Candy Wafers, choice of color
  • Candy eyes

INSTRUCTIONS

Rice Krispie Treats:

  1. In a pan, melt the butter over medium-low heat.  Add milk, vanilla extract and marshmallows. Allow the marshmallows to melt over low heat.  Don’t let the marshmallows burn, keep your heat on low and stir often.
  2. While they melt, prepare a 9×13 inch baking dish with parchment paper along the bottom.
  3. Once the marshmallows are melted, remove from heat and mix in the rice krispies.
  4. Pour the marshmallow/rice krispie mix into the prepared baking dish and spread out in an even layer.
  5. Put them into the refrigerator for 30 minutes to cool and set.

Assembling Monsters:

  1. Cut the rice krispies into desired size.  I roughly cut mine into 2×4 or 2×3 inch pieces.
  2. Melt the ChocoMaker wafers in the microwave, use a silicon spatula to stir.  One treat at a time, use the spatula to help spread the colored chocomaker spread onto half of the rice krispie.
  3. Place on parchment paper and add candy eyes.
  4. Repeat until done!
  5. Put treats in cellophane bags, with crinkle cut paper.  Tie with trick or treat tags!

NOTES:

  • I made my trick or treat tags using a stamp, paper and glue.  So easy, and like I said, keeps me preoccupied next to Chris while he watches sports after the kids have gone to bed.

fullsizeoutput_1b7cfullsizeoutput_1b7eIMG_4764

cheers!