My Go-To Gluten Free Chocolate Chip Cookies

IMG_2686

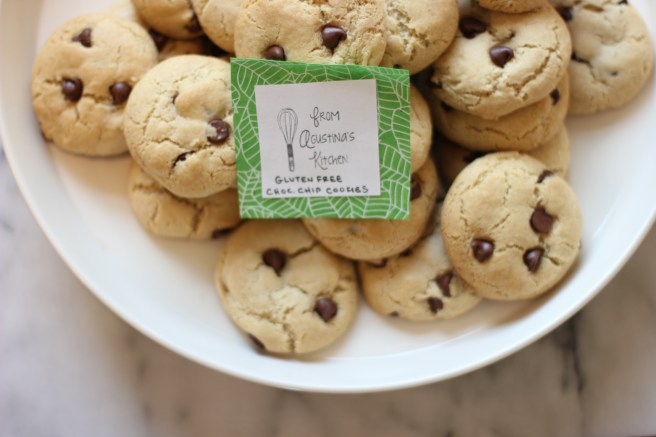
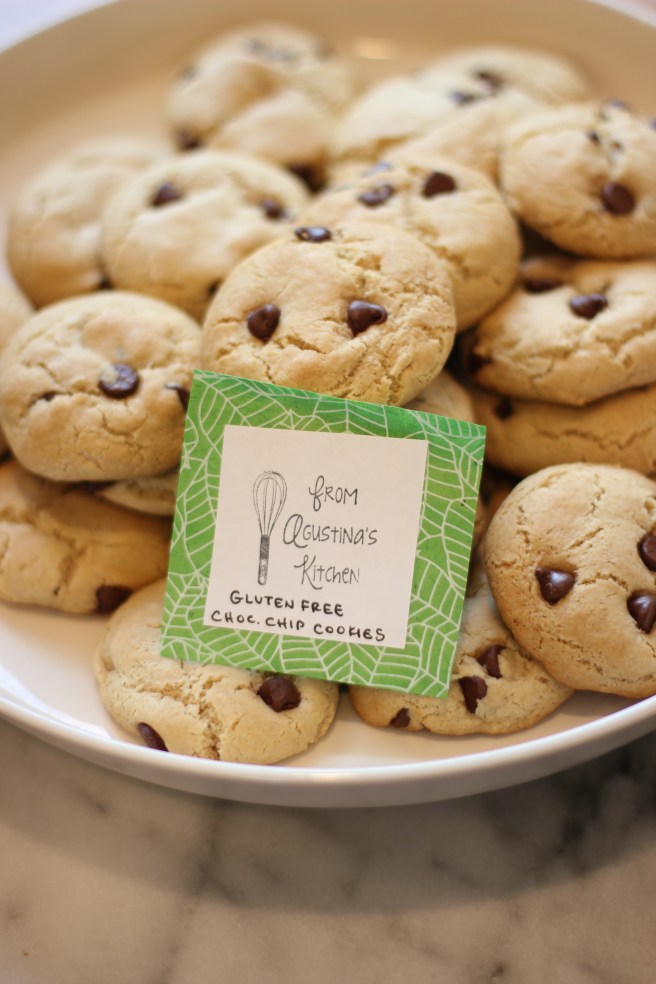
I’ve shared Displaced Housewife’s, Chocolate Chip Pumpkin Spice Cookies before, here.  Today, I’m sharing her Gluten Free Chocolate Chip Cookies.  Like she says, they really are the best gluten free CCC’s ever.  You won’t need another gluten free cookie recipe after this one, trust me.  We’ve made these, over a handful of times now for all types of occasions and they never disappoint.  I plan to make them again this week for one of Jack’s preschool events.  In this world, with ever increasing food allergies and sensitivities it’s nice to have a reliable, delicious recipe that I know will satisfy both kids and adults who are gluten-free.

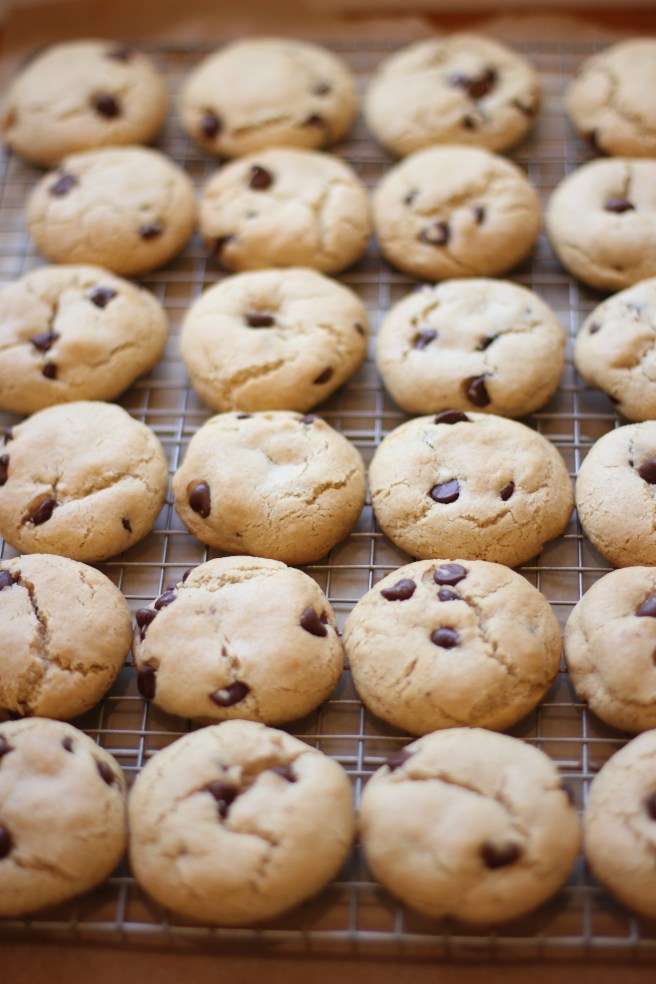
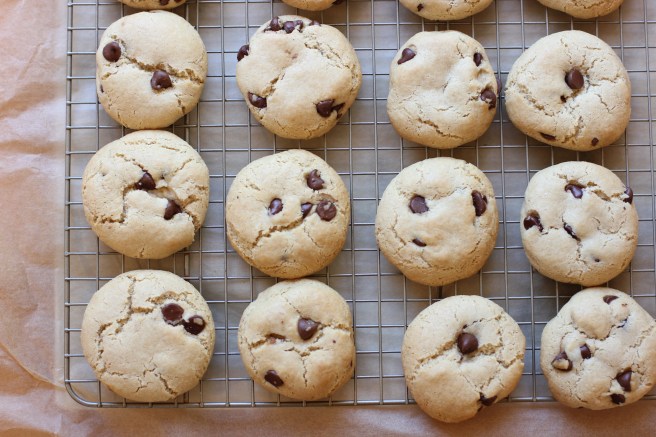
My favorite thing about these is that they have that slightly crunchy exterior and chewy chocolatey interior – which makes for the perfect cookie, in my opinion. 🙂

Also, don’t skimp on chilling the dough.  It makes all the difference between a “blah-whatever-it’s okay-cookie”, and a “wow, that’s a really good cookie!”  When I take the time to chill the dough my husband always says “these are really good” with those raised eyebrows, head bopping up and down happily.  However, when I don’t take the time to chill the dough, they’re a boring “eh” no excitement whatsoever…. so: chill yo’ dough!

IMG_2684

IMG_2682

IMG_2659

IMG_2678

INGREDIENTS

  • 1 stick, 4 ounces, unsalted butter
  • 1 1/4 cup light brown sugar, packed tight
  • 1/3 cup sunflower seed oil
  • 1/4 cup granulated sugar
  • 2 large eggs
  • 2 tablespoons milk
  • 1 tablespoon vanilla extract
  • 3 cups gluten-free flour (I’ve always used cup4cup)
  • 2 teaspoon baking powder
  • 1 1/2teaspoon baking soda
  • 1 teaspoon salt
  • 2 1/2 cups semi-sweet chocolate chips

INSTRUCTIONS

  1. Put the stick of unsalted butter in a small sauce pan and melt over medium-high heat. Once the butter is melted, continue to stir, and watch the butter as it starts to crackle and pop.  Little golden bits will settle into the bottom of the pan, and over the course of a couple of minutes stop crackling and popping.  This is the sign that your butter is done browning and you can turn the stove off, and remove the pan from heat. Transfer into a medium heat proof bowl and let cool.
  2. Add the sunflower seed oil, brown sugar, granulated sugar, eggs, milk and vanilla to the browned butter. Whisk together until entirely incorporated.
  3. In another medium bowl, whisk the gluten-free flour, baking powder, baking soda and salt.
  4. Add the flour mixture to the brown butter mixture and mix together. Add the chocolate chips.
  5. Pick up all the cookie dough and put it on top of plastic saran wrap, and wrap it up! Put in the fridge for a couple of hours, or even overnight!
  6. To bake, heat the oven to 375.
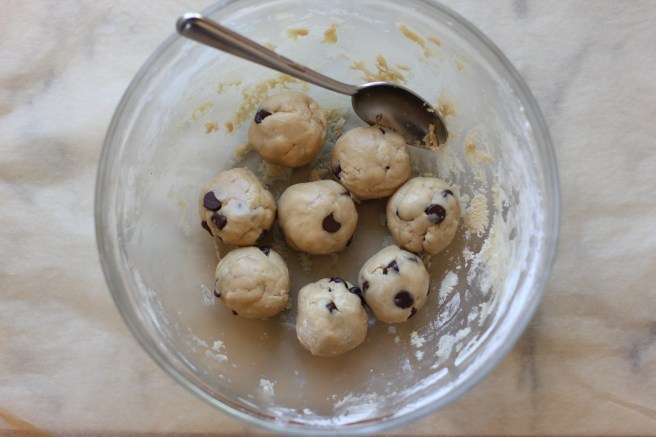
  7. Roll little balls of dough, all roughly the same size, and place onto a baking sheet (lined with parchment paper). Bake for about 12 minutes.
  8. When done baking, cookies are slightly browned around the edges and tops, remove from oven and let cool completely!
  9. ENJOY!

IMG_2665

cheers!

An Easter Carrot Cake for Beginners

IMG_3251

Easter is always my favorite holiday. Christmas is wonderful and special, and has so much anticipation built up to it that makes for so much fun and excitement. However, because it’s couched between Thanksgiving, New Years, and the general holiday craze, it can be a bit overwhelming with so much activity.  But, not Easter! Instead, Easter has a quiet start with the beginning of Lent on Ash Wednesday and slowly builds up with the coming of Spring, before Easter Sunday.

Chris volunteered me to bring carrot cake for Easter dinner this year.  I was more than happy to oblige because I love any excuse to bake 😉 In our home carrot cake season starts in February when Chris requests it as his birthday cake – it’s his favorite so I’m making it my duty to find (or create) the most perfect carrot cake recipe in the world.  If you have one, feel free to send it my way.  So far, this recipe is as close as we’ve gotten.  I’ve made it a handful of times now and it comes out moist and delicious every time — even when I think “uh oh, this time it’s going to fail me” it doesn’t! It’s a great cake for every spring occasion: bridal showers, baby showers, engagement parties, dinner parties, baptisms etc…

I call it a “beginners” carrot cake because I have actually memorized this recipe – that’s how easy it is! It’s a one bowl recipe.  Mix the oil and sugar, add the eggs, sift in the flour, baking powder, baking soda, salt, nutmeg, cinnamon, add the grated carrots, raisins, pecans – and boom you’re done! …. well, after it spends almost an hour in the oven.  🙂

fullsizeoutput_15e6

INGREDIENTS:                                                                                                                         *Recipe adapted from What’s Gaby Cooking Layered Carrot Cake with Cream Cheese Frosting

  • 2 cups sugar
  • 1 1/2 cups vegetable oil
  • 4 large eggs at room temperature
  • 2 cups all purpose flour
  • 2 teaspoons baking powder
  • 2 teaspoons baking soda
  • 1 teaspoon salt
  • 1 teaspoon ground cinnamon
  • 1 teaspoon ground nutmeg
  • 3 cups finely grated and peeled carrots – I peel them and then place in my mini Cuisinart food processor to grind.  I use my mini food processor more than I ever would have imagined, it’s one of my favorites.
  • 3/4 cup raisins
  • 3/4 cup chopped pecans
  • 4 cups powdered sugar
  • 2 8oz packages of cream cheese at room temperature
  • 1 stick (1/2 cup) unsalted butter at room temperature
  • 4 teaspoons vanilla extract

INSTRUCTIONS:

  1. Preheat oven to 325F.  Grease 2 8inch round cake pans.
  2. Using a stand mixer, or large bowl and hand mixer, beat the sugar and vegetable oil until thoroughly combined.  Add the eggs 1 at a time.  I make sure each egg has been entirely mixed in before adding the next.  It only takes a few seconds for each egg.
  3. Sift in the flour, baking powder, baking soda, salt, cinnamon and nutmeg into the sugar/oil/egg mixture.  I place this strainer over my stand mixer and put all the dry ingredients into the strainer to “sift” through to the sugar/oil/egg mixture.  Stir in the carrots, raisins, and pecans.
  4. Pour the batter into the prepared pans.  Try to divid the batter equally between both pans! Bake about 50-55 minutes until a toothpick inserted into the center of the cake comes out clean.  Let cakes cool completely before frosting.
  5. To make the frosting: use either the wire whip attachment on your stand mixer, or a handheld mixer, and whip together the powdered sugar, cream cheese, butter, and vanilla extract until it is creamy and smooth.
  6. Put one cake layer on a cake plate and spread with frosting.  Then put the other cake on top and spread with frosting.  Enjoy!

IMG_3252

fullsizeoutput_1523

fullsizeoutput_1520fullsizeoutput_1524

Cheers!

Pantry Turn Around

I haven’t been cooking much lately.  Or baking.  I got in a rut.  An infant and toddler – when do I sleep – where’s the coffee – how do I balance two kids’ needs – when do I get anything done – we ran out of diapers – oh S%!@ it’s dinner time?! rut.  In the process, my main pantry closet became a typhoon twister, disorganized, dirty, frustrating mess.  I don’t think I cleaned it out, organized it, or did anything to otherwise keep it “in shape” shall we say since having Isabelle almost 7 months ago.  See Exhibit A:

IMG_8746.JPG

Get it? It was overwhelming.

So, I took it all out.  See Exhibit B:

IMG_8748.JPG

And I mean, ALL out. See Exhibit C:

IMG_8749.JPG

We found a pile of mini garbage cans, left over from Jack’s 3rd Birthday last year, stuffed in the back of the cupboard – such a mess! But then, we put it all back, in an organized fashion!! Except for the expired stuff, the stale stuff, the stuff that didn’t belong, re: the mini garbage cans.

See Exhibit D:

IMG_8764.JPG

Happy to report that it’s been about 3 weeks since I finished cleaning up this mess, and it still looks like this! So. Much. Better.  Preparing dinner is such an easier process when you know what you have and where it is.

Also, the only thing I had to buy was that lazy susan you see there holding the oils and vinegars. Amazing what a little time and effort can do.

Cheers!
Agustina